Why Choose LED Garden Lights for Your Project?
A garden changes after sunset. Paths become less visible, steps are harder to judge, and planted borders lose their shape. A Led Garden Light can make these spaces easier to use while defining trees, walls, and seating areas. The right choice depends on more than brightness. Beam angle, color temperature, weather resistance, mounting height, and power access all affect the result. Small details matter.
For a garden project, LED fixtures can be an energy-conscious option and may offer long service when selected and installed appropriately. Yet no outdoor light is maintenance-free. Moisture, shifting soil, insects, and damaged connections can affect performance over time. Before installation, map the area after dark and test a few fixture positions. A narrow beam can pick out a tree trunk, while softer, wider light may suit a path or patio. Check that the beam falls where people need it, not into a window or directly into someone’s eyes. That is worth reconsidering.
Controls also shape the experience. A timer or dimmer can help match lighting to evening routines, though extra features may add cost and setup. This guide examines practical benefits, design choices, installation considerations, and trade-offs. Its aim is not to promise a perfect garden, but to help you choose lighting that fits the site, budget, and way people use the space.
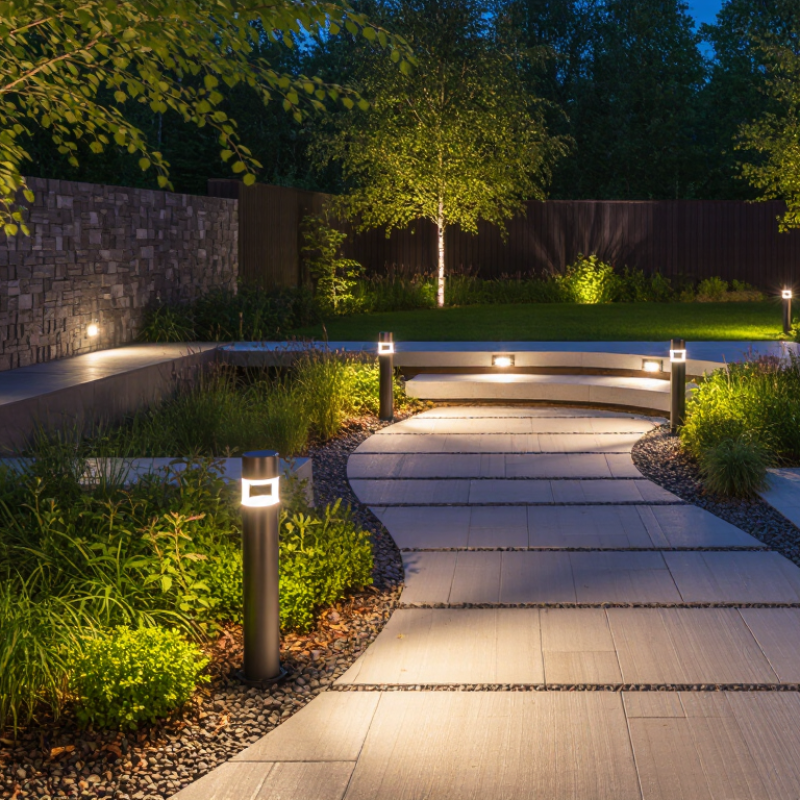
What LED Garden Lights Are and How They Work
LED garden lights are outdoor fixtures that use light-emitting diodes (LEDs) instead of heated filaments. When electrical current passes through a semiconductor, it produces light with relatively little wasted heat. A driver controls the current, while a lens or reflector shapes the beam. Many fixtures also include a heat sink to move warmth away from the LED. This part matters: excess heat can shorten service life. Garden lights may use a low-voltage transformer, household power, or a solar panel with a rechargeable battery, so wiring and output vary.
Tips: Check the fixture’s voltage before connecting it. Aim path lights at the ground, not a neighbor’s window. Warm light often feels gentler near seating areas. Wipe lenses after dusty weeks, and inspect seals after heavy rain. Ratings help, but installation details matter too.
Start with the light’s purpose. A narrow beam can highlight a stone wall, while a shielded, wider beam can make steps easier to see without glare. Compare lumens, beam angle, color temperature, and weather-protection rating instead of judging brightness from photos alone. LEDs often use less energy than older comparable lamps, but results depend on fixture design and placement. Shrubs can eventually block a carefully aimed beam. It happens. Leave space for plants, and test positions after dark before securing the fixtures.
Why Choose LED Garden Lights?
Typical power needed to produce approximately 800 lumens of light
LEDs produce light using a semiconductor and typically need far less power than incandescent bulbs for similar light output. The wattages shown are representative values; actual products vary. Lower wattage can reduce electricity use when brightness and operating time are comparable.
Energy Efficiency and Operating Costs of LED Garden Lights
LED garden lights can reduce energy use because they produce useful light with relatively little power. For a project, compare both wattage and brightness; a low-watt fixture is not a good value if it leaves steps or paths dim. Check the label. A warm beam aimed at a walkway can often do more than a brighter fixture pointed into shrubs.
Consider a simple operating-cost estimate. Six 5-watt lights running five hours each night use about 0.15 kilowatt-hours daily, or 4.5 kilowatt-hours over a 30-day month. Multiply that figure by your electricity rate to estimate the energy charge. Actual use depends on timers, seasonal darkness, and local rates, so treat the result as a planning figure, not a promise. Small loads add up.
LEDs can also need less frequent lamp replacement than many older lighting types, which may reduce maintenance on long paths or raised beds. Still, the fixture’s driver, weather protection, and installation quality affect its service life. A poorly sealed fitting can fail early, even with an efficient light source. I have seen layouts use more fixtures than necessary simply because the spacing was never tested after dark. A temporary evening trial can reveal glare, shadows, and wasted light before the final positions are fixed.
Durability, Safety, and Environmental Benefits
A well-planned garden light must handle more than a clear evening. LED fixtures generally use less electricity than comparable traditional lamps, and quality outdoor models can withstand regular exposure to rain and temperature changes. Look for sealed housings, corrosion-resistant materials, and an appropriate weather-resistance rating. After rain, inspect fittings for moisture or loose connections. Small details matter.
LEDs convert much of their energy into light rather than heat, which can reduce energy use during long evening hours. Their long service life may also mean fewer replacement lamps and less maintenance. But lifespan depends on heat management, installation, and use; “long-lasting” is not a guarantee. That matters. Choose a fixture with replaceable parts when practical, and check local options for responsible disposal.
Safety begins with placement and correct installation. Keep cables protected from garden tools, and use outdoor-rated equipment suited to the location. Low-voltage systems can be useful near paths or planting beds, but they still need proper setup. Aim lights toward steps and walkways, not directly into eyes or bedroom windows. A cooler, brighter lamp may seem practical, yet warm, moderate light often feels more comfortable in a garden. The right choice is not always obvious.
Why Choose LED Garden Lights for Your Project? - Durability, Safety, and Environmental Benefits
| Project Consideration | Typical LED Garden-Light Data | Why It Matters |
| Energy use | An LED producing about 800 lumens commonly uses around 8–12 W; an incandescent lamp producing similar light uses about 60 W. | At 9 W versus 60 W, the LED uses about 85% less power for the same stated light output. Actual results depend on the products being compared. |
| Operating-cost example | At 4 hours of use per day, a 9 W LED uses about 13.1 kWh per year; a 60 W incandescent uses about 87.6 kWh. | This example saves about 74.5 kWh per year per light. Cost savings depend on local electricity prices and usage. |
| Rated service life | Many LED lamps are rated for approximately 25,000–50,000 hours; incandescent lamps are commonly rated for about 1,000 hours. | Longer rated life can reduce relamping frequency, though heat, moisture, power quality, and fixture design affect real-world life. |
| Outdoor durability | LEDs are solid-state light sources with no filament, but the complete fixture must be designed and rated for outdoor exposure. | Check the fixture’s IP rating, materials, seals, and installation instructions for the expected rain, dust, and location conditions. |
| Electrical safety | Low-voltage garden-lighting systems, often 12 V or 24 V, are available alongside mains-voltage products. | Low voltage can reduce electric-shock risk, but it does not remove all hazards. Use a suitable power supply and follow local electrical codes and installation guidance. |
| Heat and contact | LEDs generally convert more input power into light than incandescent lamps, but LED fixtures can still become warm. | Allow for heat dissipation and follow the manufacturer’s clearance and mounting instructions, especially near plants and combustible materials. |
| Environmental impact | Lower electricity use can reduce emissions associated with electricity generation. LEDs do not contain mercury as a required light-producing component. | Choose efficient products, avoid unnecessary all-night lighting, and dispose of electronic lighting products through appropriate local recycling programs. |
| Light planning | LED garden lights are available in different lumen outputs, beam angles, and color temperatures. | Select only the brightness and coverage needed, and aim fixtures carefully to limit glare and light spill into neighboring areas or the night sky. |
Figures are typical illustrative values, not guarantees. Check product specifications and local requirements for each project.
Planning Placement, Power, and Installation
Good garden lighting begins with a site plan, not a fixture count. Walk the paths at dusk and mark steps, entrances, seating areas, and dark corners. Place lights where they reveal changes in level without shining into windows or directly into someone’s eyes. A low fixture beside a path often works better than a bright one aimed across it. Start after dusk. Daylight hides glare.
Power needs planning, too. Add the wattage of every light and check that the transformer can support the total load. Long cable runs may reduce brightness, so map cable routes before buying supplies. Solar lights can simplify installation, but shaded beds and winter days may limit their runtime. Note where trees cast shadows. That detail is easy to miss on a sunny afternoon.
For installation, use outdoor-rated cables and connectors, and follow the lighting system’s instructions. Keep connections accessible for inspection rather than burying them under soil or mulch. Secure cables away from digging areas and sharp edging. For any work involving mains wiring, use a qualified electrician and follow applicable local requirements. A paper sketch helps, though it may not capture every root or paving stone. Expect to adjust a few positions after the first evening test.